Intro
This publication is about setting up TeamCity – a tool for automated web deployments. You may have heard about Jenkins – that is another very popular automation tool. I will assume that you are web developer who knows how to install Linux VM using Virtual Box and are looking for how to automate your manual deployment tasks. Potential example: you develop an extension to one of your projects and need to upload the code to FTP server. Instead of going through everything manually every time you implement something new, you can automate it by using one of the automated deployment tools. In this article I am looking at TeamCity.
Ubuntu Server VM setup
For learning purpose I chose to setup Ubuntu VM from scratch and then install TeamCity build server – manually as well. Software of choice is VirtualBox and all running on Windows 10 desktop machine. Intention is to be able to export this VM appliance to file and run on MacOS environment if needed.
Before I’ll get to TeamCity installation steps, installing Ubuntu Linux. My choices are 4Gb RAM, 20Gb disk space, I’ll add more CPUs to configuration once installed. For initial software selection I tick PostgreSQL database, standard system utilities and OpenSSH server. Just in case I’ll want to login and manage some files manually, I also add Samba file server tick.
TeamCity installation
When I was setting up TeamCity on Ubuntu Server for the first time, I followed their official guide and additionally used this resource. After all I realised it would have been so much quicker to have a concentrated resource of commands I need to run to get TeamCity up and running on my fresh Ubuntu VM. That is why I decided to create that list of commands for myself and anyone would ever want to get TeamCity running on Ubuntu Server quickly by themselves.
Below I’m providing the list of components that will have to be installed once Ubuntu Server up is running:
- Java
- TeamCity and script that starts TeamCity after machine is rebooted
- Java Driver for TeamCity
- PostgreSQL – database of choice
All these items will have to be installed via SSH Terminal, and for that you will need the commands.
How to – Terminal commands
Assuming that your virtual machine’s IP address is 192.168.1.121, you should start by logging in via unix-like command-line interface: ssh yourusername@192.168.1.121 (“yourusername” is the one you’ve setup during Linux installation). If you’re using Windows you may consider CygWin, while on MacOS or Linux native interface is available.
The commands you need to run to get TeamCity installed and running are provided below.
TeamCity installation and startup commands
[gist]https://gist.github.com/g86/b38b4d9fb58c0cb831b50d5debfed363.js[/gist]
TeamCity start-stop script
[gist]https://gist.github.com/g86/02c8388ebcdc9dd83d08400357c2789b.js[/gist]
PostgreSQL installation and db setup commands
[gist]https://gist.github.com/g86/1f6f5a214ed77839a979d58ee99b8a5d.js[/gist]
Setup TeamCity
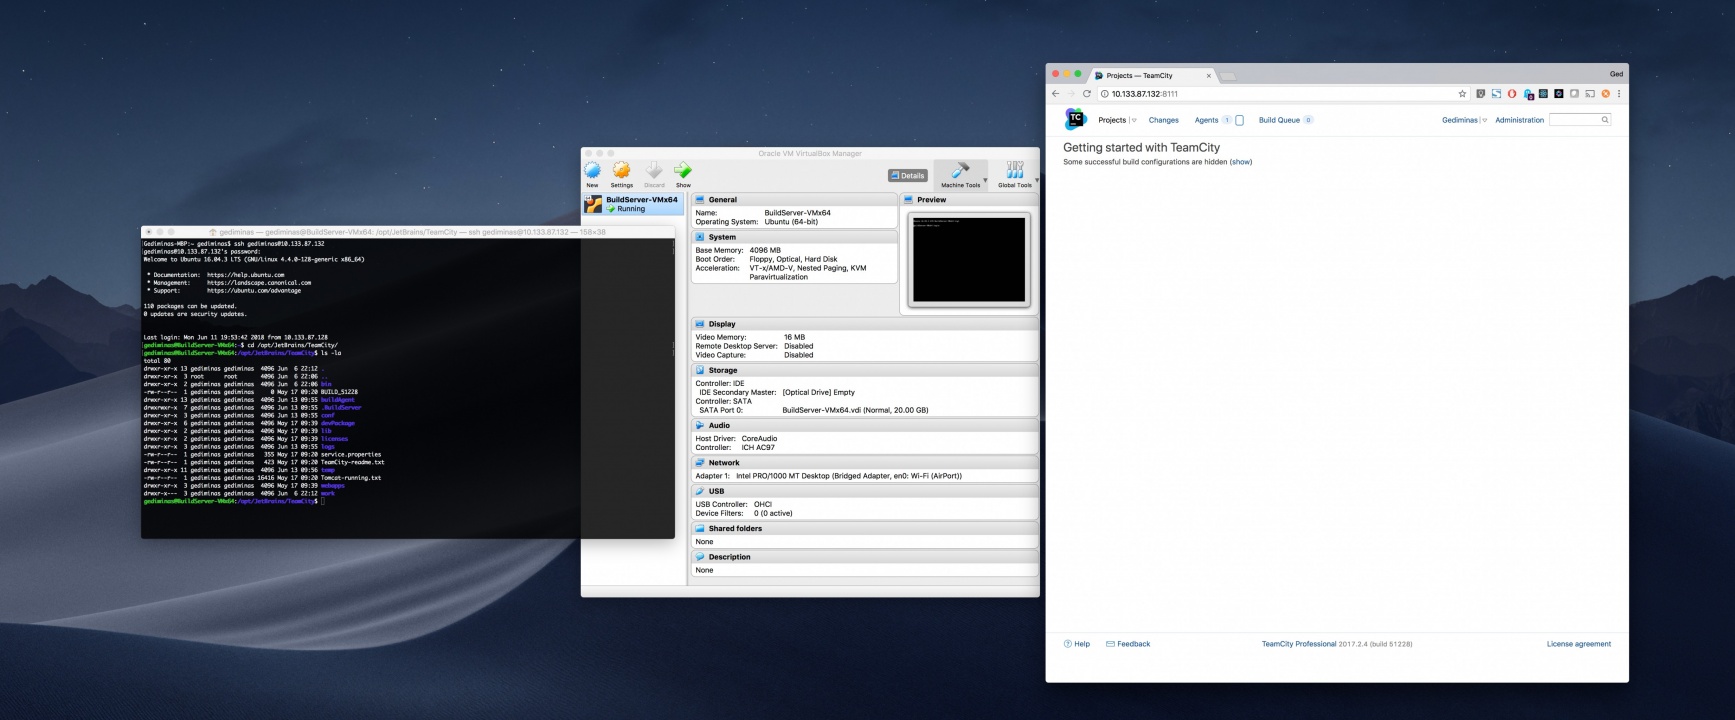
Once actions above are complete, now you can open TeamCity in your browser via IP that has been assigned to your VM (virtual machine). Example: http://192.168.1.121:8111 – please note that the default port for TeamCity is 8111.
- Proceed with the default suggested installation path
- Pick database type – PostgreSQL
- Input database name: teamcity
- Input database user: teamcity
- Input database password: ********
- Proceed
Once TeamCity has complete it’s procedures, follow on-screen instructions to setup admin account.
Done
Thanks for reading and hope that helps you to speed up your TeamCity installation on Ubuntu Server.
Next post will be about how to setup your first automated deployment.